An EFTPOS Reversal is used when a customer makes a purchase using PAX, but then requires a refund for the entire purchase.
A reversal is typically done by pressing an EFTPOS Reversal button, after which you will be able to select the transaction to refund from a list of previous transactions that have already been completed.
Therefore, before this function can be used, ensure that you have created an EFTPOS Reversal button on your POS Screen.
For further information on how to do this, please refer to the section "Create additional POS Screen buttons for EFTPOS functions" on the Configure Idealpos for PAX page.
Once the EFTPOS Reversal button has been created, click on the POS Screen tab which contains the button and click on it.
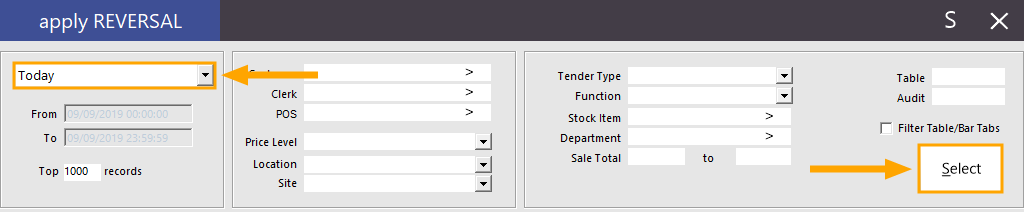
An Apply Reversal screen will be displayed and will by default show all transactions that have been completed for the current day.
If the transaction was completed on the current day, it should be displayed in the list of transactions.
Otherwise, select the day from the dropdown box, or choose "Custom Date" to specify your own date range.
You might also want to enter any other details to help locate the transaction such as the Customer, Clerk, POS number, Location, Tender Type, etc.
Once the date range has been chosen and any required filters specified, press the "Select" button to apply the filters to the results displayed below.
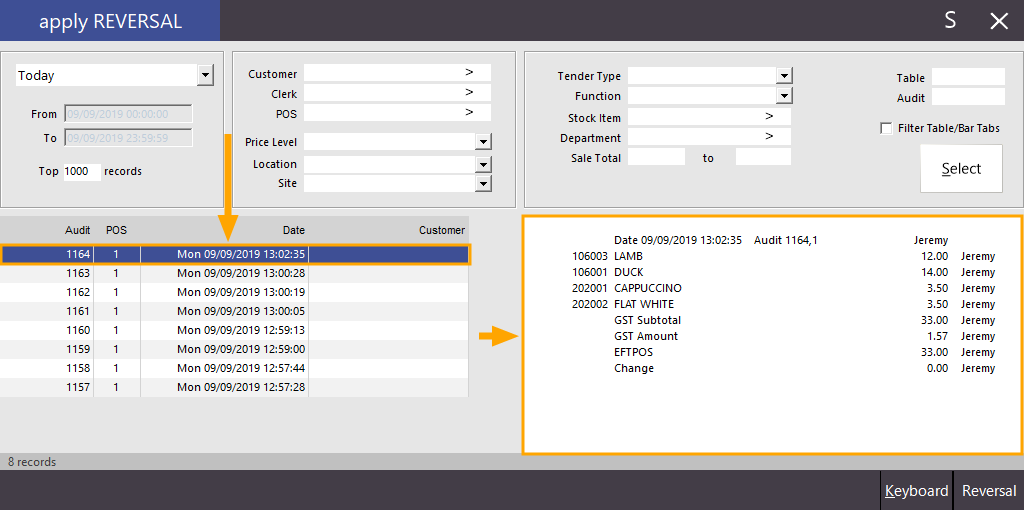
Finally, locate the transaction from the list then select it.
The transaction details will appear on the right-hand side, which includes details of the items that were added to the transaction.
Once the transaction has been selected and it has been confirmed to be transaction Press the "Reversal" button on the bottom-right corner.
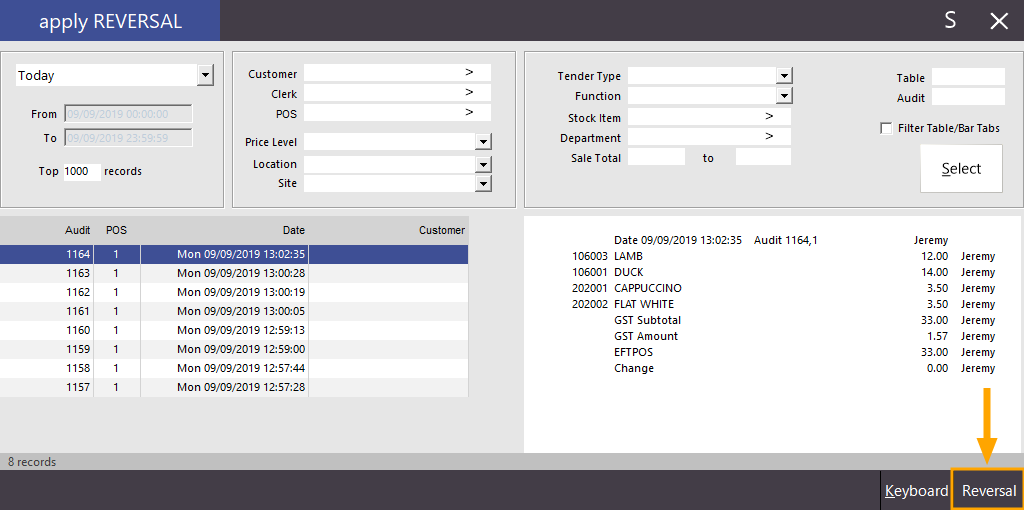
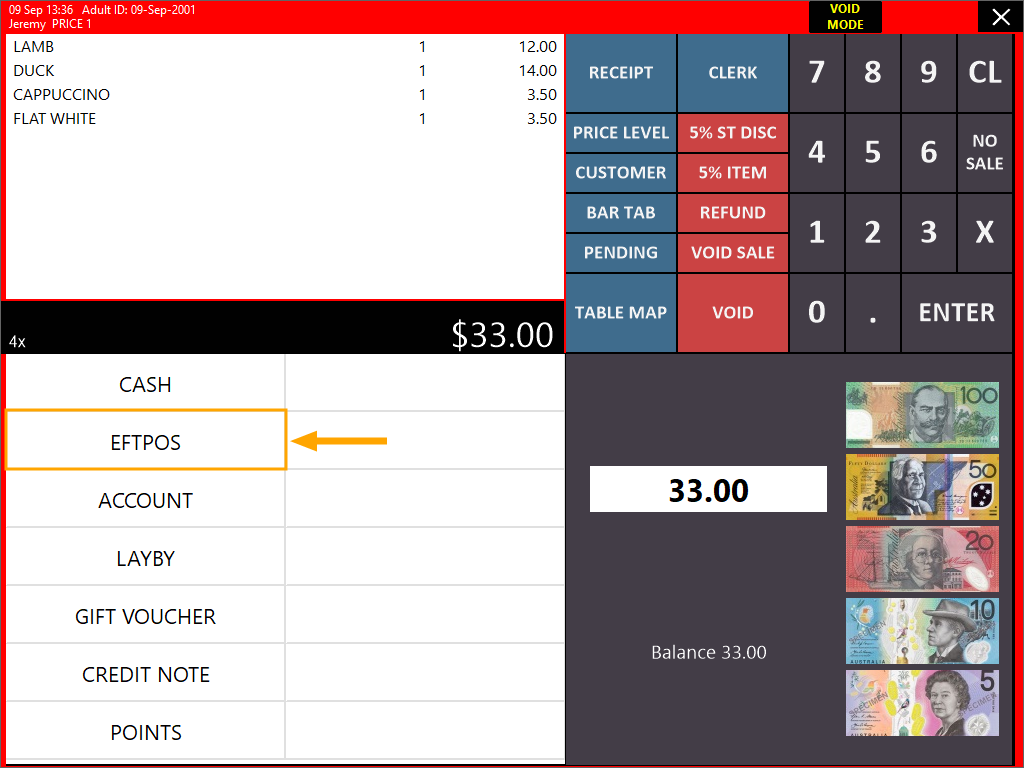
The POS screen will be displayed in Void Mode and will show the items that were originally included in the transaction.
Press the "EFTPOS" button to finalise the reversal.
A receipt similar to the below will be printed, regardless of whether or not Receipt Printing is disabled.
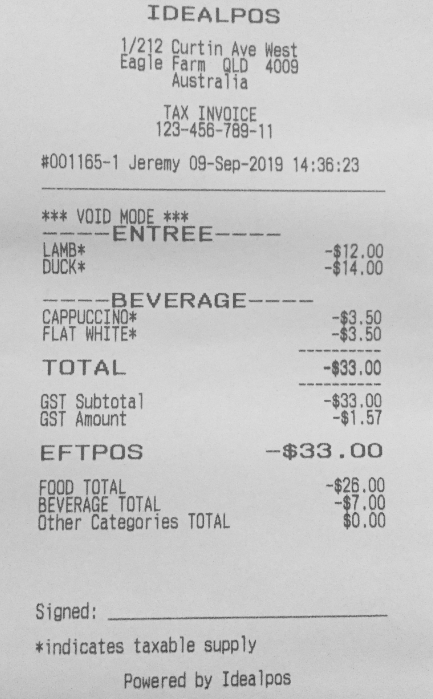
The POS screen will then return to the new sale screen, ready for completing a new transaction.